
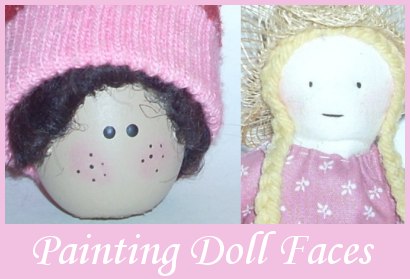
Painting Doll Faces – Tole Painting Style
There are many kinds of doll faces you can create when crafting, but the most common is the basic Toll-painting faces. These basic techniques can be mixed and matched by any beginner to create a huge assortment of looks.
Materials: Paint Something to paint! Something to paint with!
Directions:
Step 1 – Make two small dots on the upper part of your face, keeping the dots close together. This is a basic pair of eyes.
Step 2 – Paint a thin and simple smile as the mouth in the middle lower part of the face.
Step 3 – Draw a line across your smile line to make a complete grin. You can leave this plain or color it in, it just depends on what you like!
Step 4 – Paint two light circles on the cheeks. Place then slightly lower and back from your eyes.
Step 5 – Use a very light touch and a small brush to make tiny dots around the upper cheeks and nose. These look like adorable freckles.
Step 6 – Draw a small circle in the middle of the face, below the eyes. This is your cute button nose.

 More Tips:
Once you have these basic six steps down and can figure out where to place them, youre on your way to creating custom faces.
Just mix and match the steps, changing colors or size if needed, and youll have mastered dozens of different toll-painting doll faces.
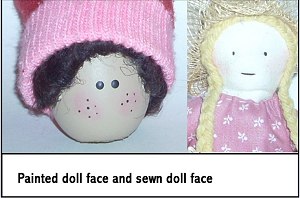
You can use these techniques not only for painting, but for drawing and sewing doll faces too.
by Aysha Schurman