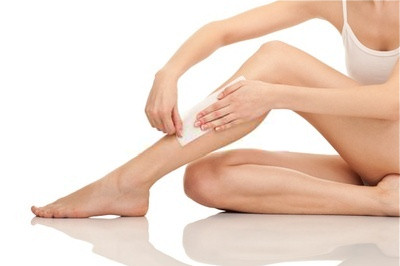
Tips for Easy DIY Waxing at Home
 Waxing is the most hygienic way of hair removal. It leaves you with clean and glowing skin and when the hair start to grow again, which is weeks later, they are soft. Here are some tips and instructions for a smooth at-home waxing experience.
Before Waxing
Be sure to test a small area of skin first to make sure there is no acute sensitivity or allergic reaction to the process.
Hair should be at least 1/8 inch long. If it isn’t wait until it reaches this length.
Be sure to wash the skin thoroughly and dry it well beforehand to remove any lotions or oils which may prevent the wax from adhering closely to the skin.
Avoid showering and making the hair wet prior to hair waxing. Hair absorbs the water making it soft and less likely to adhere well to the wax. Tough hair is easier to pull off.
Waxing Instructions
Heat the wax carefully so as not to overheat and thus burn the skin when applying. Test on a small area first.
Apply a thin layer of wax in the direction of the hair growth, preferably holding the spatula or tongue depresser at a 45 degree angle as you spread the wax.
When applying the cotton strip over the wax, rub in the same direction as the hair growth leaving about 1/3 of the strip free to allow for a firm grip for a fast back pulling action.
Pull the skin taut before pulling the cotton strip away.
Pull back with a rapid movement close to the skin. Do not pull up or out, rather pull back. One fast, smooth, pull back is much more effective than a series of light pulls which only increase the pain and leave patchy areas.
Clean the skin with a warm moist towel afterwards to remove excess wax.
After Waxing
After 24-48 hours exfoliate the skin (with a Loofa sponge for example) to prevent the dead skin from accumulating in areas that can become ingrown such as the bikini line, upper thighs, underarms and calves.
