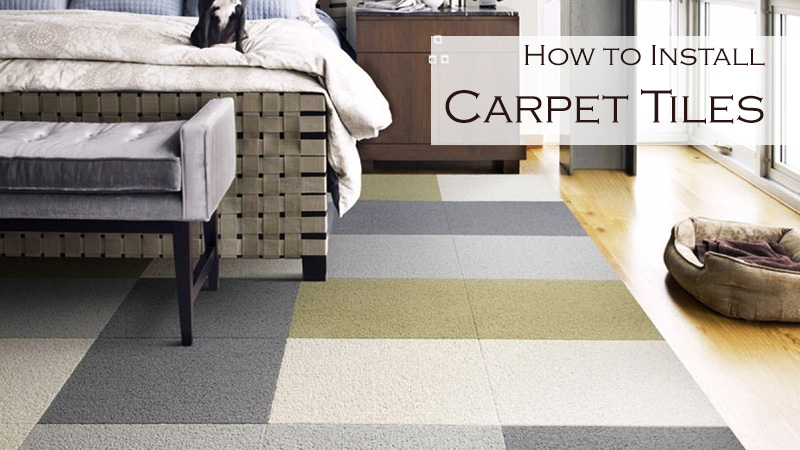
How to Install Carpet Tiles
Carpet installation has long been the type of job that you leave to the professionals. It’s a lot more complicated than it initially seems and can take much longer than expected. However, with carpet tiles (aka modular carpets), you could potentially lay a brand-new carpet in an afternoon with little to no problem at all.Modular carpet is more expensive than a regular carpet, but the money you save by installing it yourself should more than cancel this extra cost out.
The installation of modular carpets is really quite simple, and anyone who’s even a little bit confident in their DIY skills should be able to successfully do it with a little guidance, so in the following article, we will explain to you exactly how to fit carpet tiles and list all the equipment that you will need for the job.
-
Equipment List
- Carpet Tiles
- Carpet Adhesive Tape
- Tape Measure
- Pencil
- Chalk Line
- Carpenter’s Square
- Utility Knife
-
Step 1 – Making sure you have the right subfloor
Modular carpets can be laid on top of most subfloors (plywood, concrete, strand board, etc.) and hard flooring options (laminate, hardwood, tile, etc.).
-
Step 2 – Deciding on a pattern
If you only want one colour, then this isn’t a problem for you, but a lot of people who buy carpet tiles do so to create some sort of pattern. Before you even order your tiles, then you should decide on and draw up a pattern. This way, you’ll know roughly how much of each colour you’ll need and what your carpet will look like when it’s done.
-
Step 3 –Placing the first tile
Find the centre of one of your tiles, line it up with the centre of your wall, then mark the wall at each end of the tile. Repeat this process until you’ve done it on all your walls. After this, snap chalk lines between parallel marks so you create what looks like a crosshair on your floor. The middle of this crosshair is where you will place the first tile.
-
Step 4 – Placing the rest of your tiles
Now that your first tile is down, you can start to create your pattern. Lay all of your tiles down until you find the pattern that you are happy with, then, take the backing off the tiles and smooth them down.
-
Step 5 – Make sure they fit the room
If your room is an awkward shape, or if there’s space in between the last tile and your wall, then you’ll need to cut some of your spares to fit in the gap. This is where you need to use your carpenter’s square and utility knife. Using these tools, turn the tile upside down and make a clean cut through it to create the shape that you require.