How to Ace the One Room Design Challenge
The One Room Challenge is a design challenge where individuals redesign one room in their home over a six-week period. There’s an official challenge, in which 20 bloggers are chosen in the competition, but many other bloggers, interior design enthusiasts, and eager redecorators participate as well. If you’re interested in blogging, this is also a great way for you to marry two things at once: blogging and decorating. And if you’re starting a blog for the first time, doing so with an introduction to your One Room Challenge is a great way to bring in some exposure. Mostly, however, it’s a great way to encourage you to complete that renovation you’ve always dreamed of. Here are a few tips on acing the One Room Challenge:

Plan In Advance
Every great renovation and redecoration effort starts with a great, thorough plan. This is especially true when you’re working under a stringent six-week timeline. Before you know it, six weeks have flown by. Prior to the start of the challenge, begin creating detailed plans and a schedule that works with you.
Your schedule should be realistic; if you can’t fit in four hours per day for your renovation, then you shouldn’t set high expectations about it. Keep in mind that planning ahead doesn’t mean starting ahead; that would ruin the run of the challenge. Instead, you just want to choose your theme and make phone all the appropriate phone calls.
It’s also important that you don’t lose sight of the small details and final touches. Sometimes people can get so caught up in the big details of the renovation, that they forget about those pieces of art and beautiful add-ons that really bring the design and room together. For example, throw in a beautiful mirror, antique pieces of decor, or have a fun with a jewel candle: once these scented candles are finished burning, you’ll find a surprise piece of jewelry. You can check out some of the available candles here to find one that matches with your decor: https://jewelcandle.com.
Set a Budget
One of the most important parts of any renovation is having a solid budget in place. The price of a renovation can range; the cheapest successful ORC challenge that was listed on its website was around $1,500, while the most expensive was $75,000. When you set up a budget early on, you can avoid costly mistakes later down the line. Think about how much you can afford to allocate to decor and renovation, and do your research. Start researching different contract, and gather quotes and material prices. Don’t be afraid to trim back on some items if you find yourself leaning out of your budget.
Find Your Inspiration
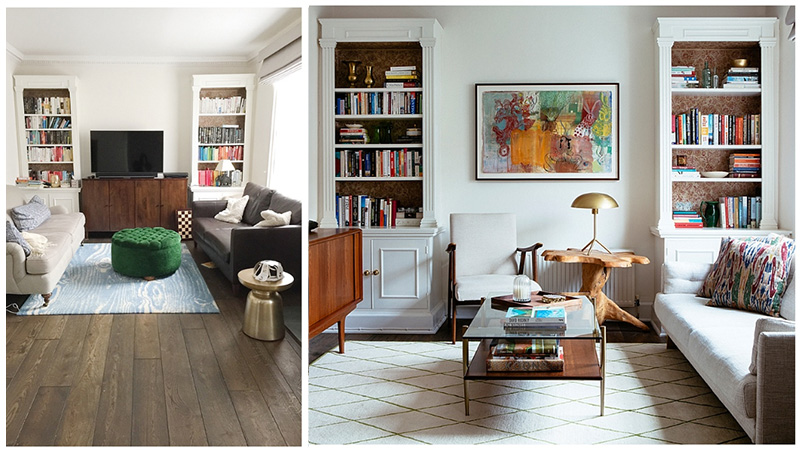
Before you spring into action, it helps to get inspired. There are endless creative ways you can decorate a room, but with no inspiration, you might find that you struggle to pull through day after day. One of the first things you’ll want to do is look at some of the previous ORC challenges. Seeing a roster of before and after photos from others who have participated in the contest is a great way to get your ideas flowing. From there, you can start to think about how you’ll decorate your own space.
Then, make your way over to Pinterest and start exploring different decorative themes. Pinterest is a great place for you to put together curated “look boards” that help you better follow a visual map of what you’re looking for out of your project. Once you’ve pinned a few looks, you’ll have a solid concept. To help guide you throughout the design process, it also helps to create a color scheme. You can do so with this color palette creator tool. And if you don’t like the idea of a digital mood board, you can go old school and use a traditional cork board with magazine pages and print-outs.
Take Enough Before Photos
Once you’ve completely renovated your room, it’s hard to see how far you’ve come if you don’t have enough before photos. These photos are a huge component of the project, and without them, it’s hard for you to properly see how far you’ve come. During the “Before” photos, try to get as many different angles as you can. You never know which parts of the “After” you want to compare it to. You should be able to generate as many side-by-side comparisons as you’d like.


