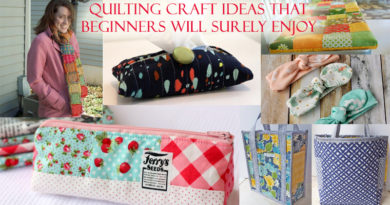
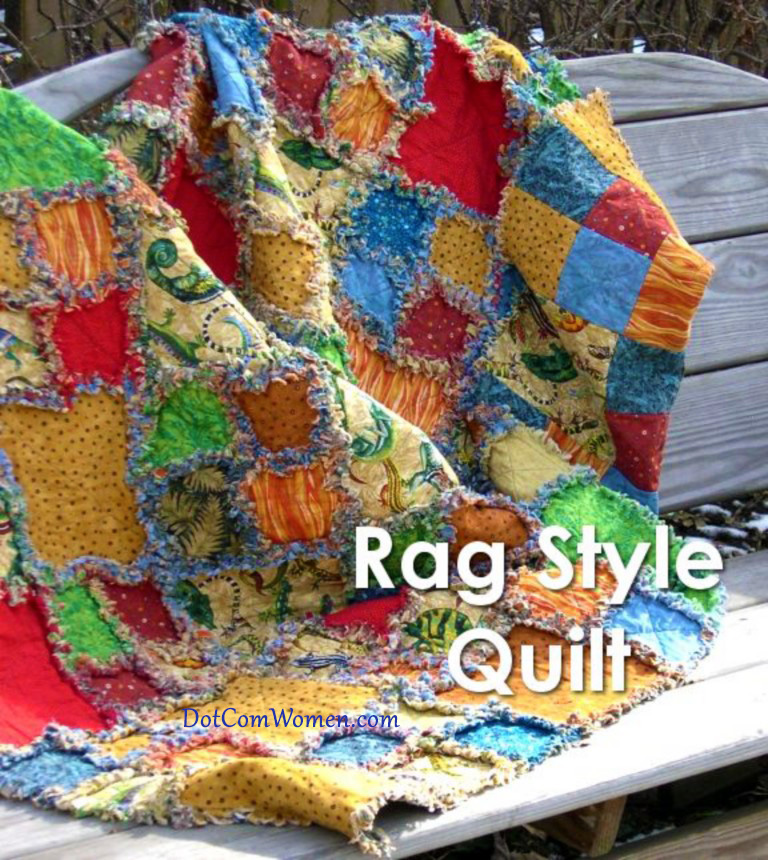
Rag Style Quilt – Free Quilting Pattern / Project
For a quick and easy quilt project, try a rag style quilt. In this technique, each square of the quilt is assembled and quilted as you go. When the last squares are joined, you’re done! It’s a great project for beginners because it is very forgiving- minor errors are usually invisible. Rag quilts have a very appealing and casual look. The Fringe between each square creates a cozy throw for cool evenings.
To make this rag quilt you’ll need:
Quilting fabric
Sewing machine with walking foot
Matching thread
Batting
Fine-tip Scissors
Rotary cutter and mat
Choosing your Rag Style Quilt supplies
Fabric
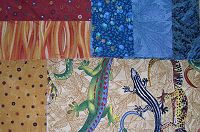
- To enhance the look, choose a variety of fabrics with lots of contrast. For a throw-sized quilt, you will need a total of 11 ¼ yards of fabric and twin size batting.
- Cottons and Flannels both fray nicely.
- This is a great quilt for using up scraps! Or, if you prefer a more coordinated look, chose 4-5 fabrics in two color groups.
Batting
- Size: Twin.
- Cotton batting is recommended so that fabric and batting shrinkage is consistent and the finished quilt is smooth with no puckers or wrinkles.
- Cotton batting is very easy to cut with the rotary cutter.
- Warm & Natural cotton batting is preferred
Cutting your fabric
Throw size (as pictured) 7 squares per row x 9 rows
Fabric
64 x 9” squares
248 x 5 ½” inch squares
Batting
32 x 6 ¾ squares
124 x 3 ¼ squares
No additional cuts are needed. This quilt is self-backed and needs no binding.
Cutting the squares
Using a rotary cutter and large mat, you can quickly cut your squares. Pile them by color for easy assembly. It’s important to carefully measure your squares and preserve the finished size of your squares. A cardboard or clear template can be very helpful in keeping the sizes consistent. Place the seams so that the inner distance between squares remains the dame to ensure that the seam lines throughout the quilt will be aligned correctly.
Assembly & Sewing
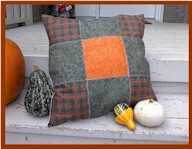
Assemble each square by making a “sandwich”. Place batting between two pieces of fabric, rights sides showing. (You are placing the cotton batting between the top and bottom layers of the quilt.) Four of the smaller squares will be the same size as one of the larger squares. Quilt each individual square in the pattern you’ve chosen.
Quilt each individual square as desired. An “X” quilting pattern was used in this sample.
When you’ve assembled all your squares, it’s time to arrange the final quilt composition. Lay out the squares on a large surface, such as a dining table or a clean floor. Arrange the squares in a pleasing pattern. Pin each row together and stack for storage.
Place your first two squares with wrong sides together and stitch leaving a – inch seam allowance. This will eventually be your fringe. Add the third square, wrong sides together; making sure that the seam allowance is on the correct side. Continue this process until the entire first row is sewn together.
Sew each row together is the same fashion. When you have completed the process, it’s time to begin attaching the rows together. As the quilt gets larger, it will be harder to control while you’re sewing. Roll the portion you are not working on and secure with quilt clips or safety pins.
Finishing the quilt
When you’ve sewn all your rows together, you’ll need to stitch around the perimeter of the entire quilt to prevent fraying of the edges. Leave a seam allowance of about ¾” to 1”. You’ll have one smooth side and one fringed side.
Final step: Ragging
To complete the ragging process, clip by hand along the exposed, raw edges about ¾ of an inch, leaving just ¼ inch from the seams (to prevent fraying). Making snips every ¼ to ½ inch creates the studies and most fluffy fringe. The edges as well as all interior seams will need to be snipped, so be prepared for a long (but rewarding) task.
This part can take several hours, but it’s an easy to do while watching your favorite movie of TV show. Fiskars brand soft shears have a spring, which makes this job go much faster.
Finished size approximately 48” x 62”