Picture Holder Tag – Scrapbooking Ideas
Materials:
- Manilla tag Size 5
- Mary Engelbreit Floral Sticker Sheet
- White Vellum (gold or silver would also be nice!)
- Sew Sweet Strings
Instructions:
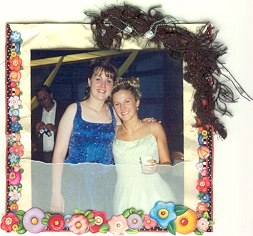
– Wet Manilla tag with water. Crumple into a ball (be careful not to tear it). Flatten out to dry. To dry it quickly iron it with a warm iron (stays flatter if ironed). This gives it a weathered/handmade look. You can do this with cardstock too. – You can lightly chalk the tag with brown to further age it. – Cut a piece of vellum the width or your tag & about 2″ high. Tear 1/4 – 1/4″ off top edge. – Glue vellum piece on tag along side & bottom edges. – Apply sticker borders to bottom & edges. To get perfect corners lay side border over bottom border (on the tag) & cut corner at an angle before sticking them down firmly. Take off cut edges & corners should fit perfectly. – Apply a few stickers along bottom edge randomly. Then apply a few more with peel ‘n stick foam square on the back to give the bottom a 3D look. – Tie ribbon or fibers to top of tag. To tie fold ribbon in half & slide through hole. Slide rest of ribbon through loop & tighten. – Put a picture in the vellum pocket.
Use to display pictures on your fridge, as a gift tag or on a scrapbook page.
| About the Author
Designed by Wendy Kennedy from www.CanadianCountryGifts.com – folk art, candles, handmade soaps, scrapbooking supplies, Email Parties, weekly specials, a free newsletter, and more free project ideas. |