
Paper Embroidery Card Instructions & Pattern – 2
Step 3 Continue around the circle advancing one hole clockwise with each stitch. As you work your way around your stitches will begin to overlap. Make sure that you do not skip any stitches. When you are done, each hole should have two stitches.
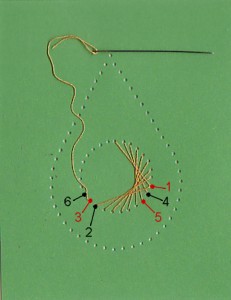
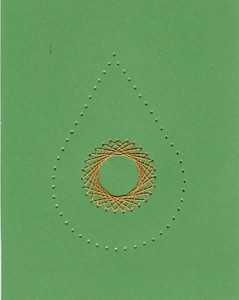
Step 4 Continue the rest of the way around the circle until each hole has two stitches. Tape the end of the floss to the back of the card.
Step 5 Start at the top of the teardrop using one strand of red floss. Refer to the picture to the right. Bring the needle up at 1, count forward 14 holes and bring the needle down at 2, up at 3, down at 4, etc.
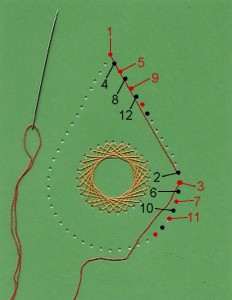
Step 6 Continue clockwise around the teardrop. Your stitches will overlap as before. Make sure that you do not skip any stitches.
Step 7When you are done, tape the end of the floss to the back of the card.
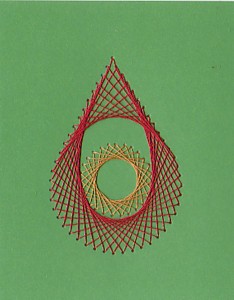
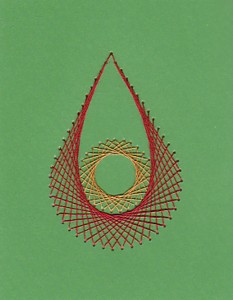
Mount your finished work on the front of the card blank, using the decorative paper as a frame. Add a gold bow to the top.
Project by DCW Member Judy Headrick of Cards & Crafts.