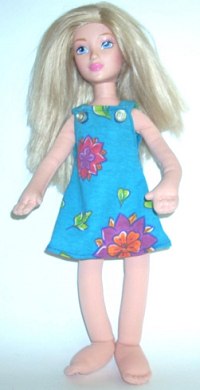
Making a Jumper Dress for Any Doll – with Pattern
Doll dresses are insanely expensive, regardless if youre buying for Barbie or for a Cabbage Patch Kid. So let an older child, or adult, try this simple doll jumper dress as a fun, cheap, and easy way to add some selections to any dolls wardrobe.
 Materials: Pretty cotton fabric, not too stretchy. Amount depends on doll size. Fabric Scissors Pencil Ruler Sewing Machine Thread Buttons, 2. Size depends on doll
Directions: 1. Measure doll. This dress can be used for a small fashion doll, or a large baby doll,
so just measure the doll to find out the size you need to cut the fabric. Add an inch for the seam, then cut out a front and back of the dress. Use the black and white pattern picture as a guide. See next page for pattern.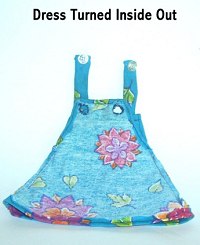 2. Pair the front and back of the dress together, inside out. Pin if needed. Sew the front and back sides of the dress together, making sure to sew on the inside of the fabric, not the outer pretty side. Make sure to only sew about ¾ of the sides closed, leaving ¼ open at the top as the armholes. Leave the arm openings to be hemmed. Obviously, make sure to leave the bottom of the skirt and top of the shirt open, so the doll can wear the garment! 3. Sew the bottom hem of the fabric into an even skirt edge, and hem around the torso opening on the upper dress. Depending on the skill level of the person sewing, you may need to use sewing pins to create the even fold before actually sewing the hem. 4. Turn dress back inside out, so that the seams are inside, and check the fit on the doll. Measure how long and thick the straps will need to be to make the dress sit properly. 5. Cut and hem straps, then sew straps onto back of dress. Hand sew buttons to the front of the straps, and check the dress on the doll again. Note where the buttonholes should be on the front of the dress.