
Jack-O’-Lantern: Halloween Pumpkin Carving Instructions

 What you need:
- 1 pumpkin
- lots of newspaper
- large and small sharp knives
- strong spoons for scraping
- felt-tipped pen
- plate or glass or metal ashtray
- candle
Directions:
 1. Put several layers of newspaper on the floor (or your working space) and place your pumpkin on it.
2. With your pen, draw a circle big enough for you to put your hand in, around the stem of the pumpkin.
3. Cut along the circle and take the stem piece out.
 Caution: Younger kids, ask a grown-up to do this for you.
4. Pull out as much of the stringy pulp and seeds as you can. Using a strong spoon, scrape the inside of the pumpkin until it is completely smooth and clean.
5. Ask a grown-up to to cut out eyes, nose and mouth. You can choose to have a scary or a happy face for your jack-o’-lantern. Ours has a happy one!
 6. Finally, you need to ‘light up’ your lantern. Choose a short candle (so the flame does not burn the top of your pumpkin). Ask a grown-up to melt the bottom of the candle and fix it onto a plate, glass or metal ashtray. Put the plate with the candle into the jack-o’-lantern.
7. Place the Jack-o’-Lantern wherever you want to display it and light the candle. Your Jack-o’-Lantern is ready!
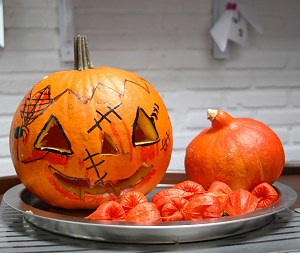
Tips: Once you are done carving the pumpkin, you can decorate your pumpkin further using marker pens.
HAPPY HALLOWEEN!
Before you begin this project, you might want to read: